Tuesday, 18 March 2014

Rule of thirds.


 Rule of Thirds

 The rule of thirds is a technique applicable to any form of photography, used to make images more appealing. The rule of thirds separates elements in a composition into thirds. 

 When a key element in an image is placed underneath the points where the lines cross, the subject instantly has more impact. Your eyes are drawn subconsciously to these points. The lines themselves are the second strongest focal point in an image. 

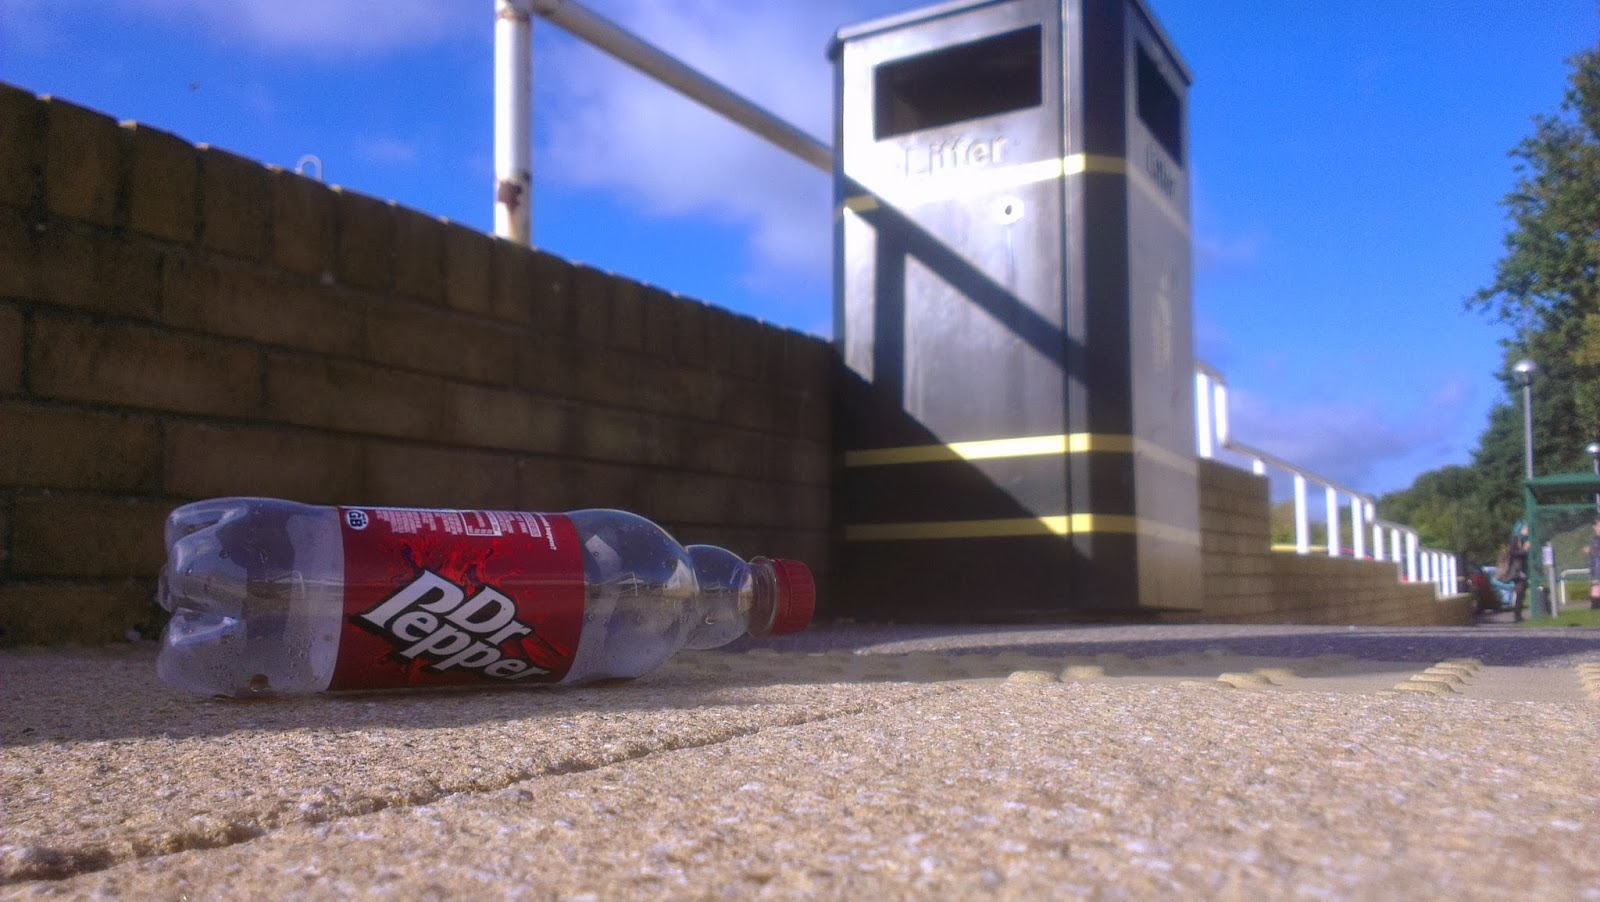
L ike this bottle. If the bottle was in the middle of the photograph, it would have much less impact. But placing the bottle  on one of the rule of thirds grid corners, the image becomes more interesting and the bottle has more impact.

Here is the grid used to place the subject. As you can see the bottle is directly underneath the bottom left corner of the rule of thirds grid.

Hard light vs soft light.

Lighting is one of the most important aspects of photography that a photographer has to consider.
The lighting in a composition is effected by many different factors, and lighting drastically affects your images. 

This can be how hard/soft your lighting is, or the direction of your lighting.
Soft light and hard light are two very different things. Soft light creates faded, less harsh shadows while reducing contrast and overexposure. Hard light creates distinct shadows with a higher contrast, saturation and often overexposed


This image is an example of hard light. The charger is overexposed, and the shadows in the background are 'hard' (well defined).

This image is an example of soft light. The charger is not over exposed. You can see more detail than in the first, overexposed, image. The overall contrast of the image is lower meaning the colours are less bright, and the shadows are softer.

Tuesday, 11 March 2014

Photoshop Liquify


Here are my before and after images of my first attempt at using the liquify tool for weight loss in Photoshop. I could use this in my magazine as there is mostly portrait photography being used. To improve the picture I would cut out the woman from the background to remove the 'liquified' background of the final picture.


Before               After


Tuesday, 22 October 2013

White Balance

White Balance (WB) affects how whites appear in a photograph. WB can be set manually, automatically or with a preset setting. 

The photographs I have taken are using preset and automatic settings. 

WB can be used to compensate for incorrect lighting, or can be used to purposely alter the mood and atmosphere of a photograph.


This image was taken with an automatic WB setting. 

The camera has chosen what it thinks is the correct white balance in accordance to the lighting in the composition.

By doing this the camera has replicated the correct coloration of whites in the room, and the mood has not been altered from  


This image was taken with a 'cloudy' white balance preset. 

When set to any natural lighting such as sunlight, clouds or shadows, the camera adds warm tones to the picture and this creates a more orangey tint. 

Images appear warmer and the atmosphere of the photograph changes. Warm tones subconsciously create a positive mood. 


This image was taken with a 'tungsten' WB preset. 

The camera is being told that the lighting in the room is already bright with warmer tones. The camera is trying to compensate by adding cooler tones to the image. 

Because this preset was unnecessary, the image appears to have a very blue tint. Much like with warm tones, this gives the image a cooler and very different atmosphere.
Cool tones subconsciously create a negative mood.